Are you ready to take your Webflow site to the next level? By harnessing the power of Google Analytics 4 (GA4), you can gain valuable insights into your website's performance and make data-driven decisions to optimize your online presence. In this comprehensive guide, we will walk you through the process of setting up GA4 for your Webflow site, migrating from Universal Analytics (UA), and leveraging the advanced features of GA4 to unlock the full potential of your website.
What Is Google Analytics?
Google Analytics (often referred to as just GA) is a free tool by Google that helps you collect data about the traffic on your website. You can see where your visitors come from, what pages they’re visiting, how long they’re staying on your website, and more.
The GA4 Update
Google Analytics 4 is a stand-alone property that is already up and running. The older version of this is referred to as Universal Analytics (UA), and it stoped operating on July 1, 2023. It’s a the next generation of Analytics which collects event-based data from both websites and apps and is built to be more powerful and robust compared to Universal Analytics.
Setting up Google Analytics 4 on your Webflow website
Step 1: Using the GA4 Setup Assistant
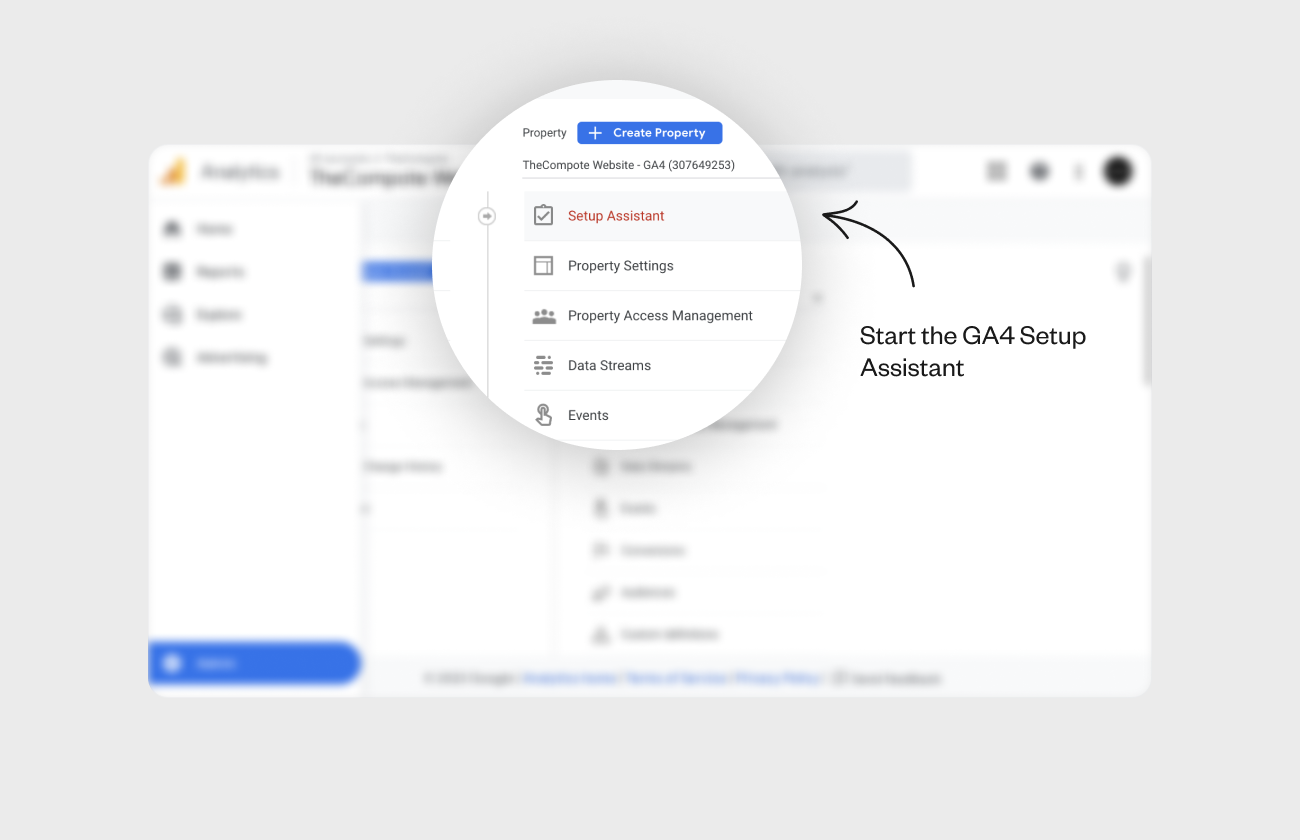
The first step in the migration process is to use the GA4 Setup Assistant in Google Analytics. This assistant will create a new Google Analytics 4 property and establish a connection to your existing Universal Analytics property. Follow these steps to get started:
- Log in to Google Analytics and select the property that is currently linked to your Webflow site.
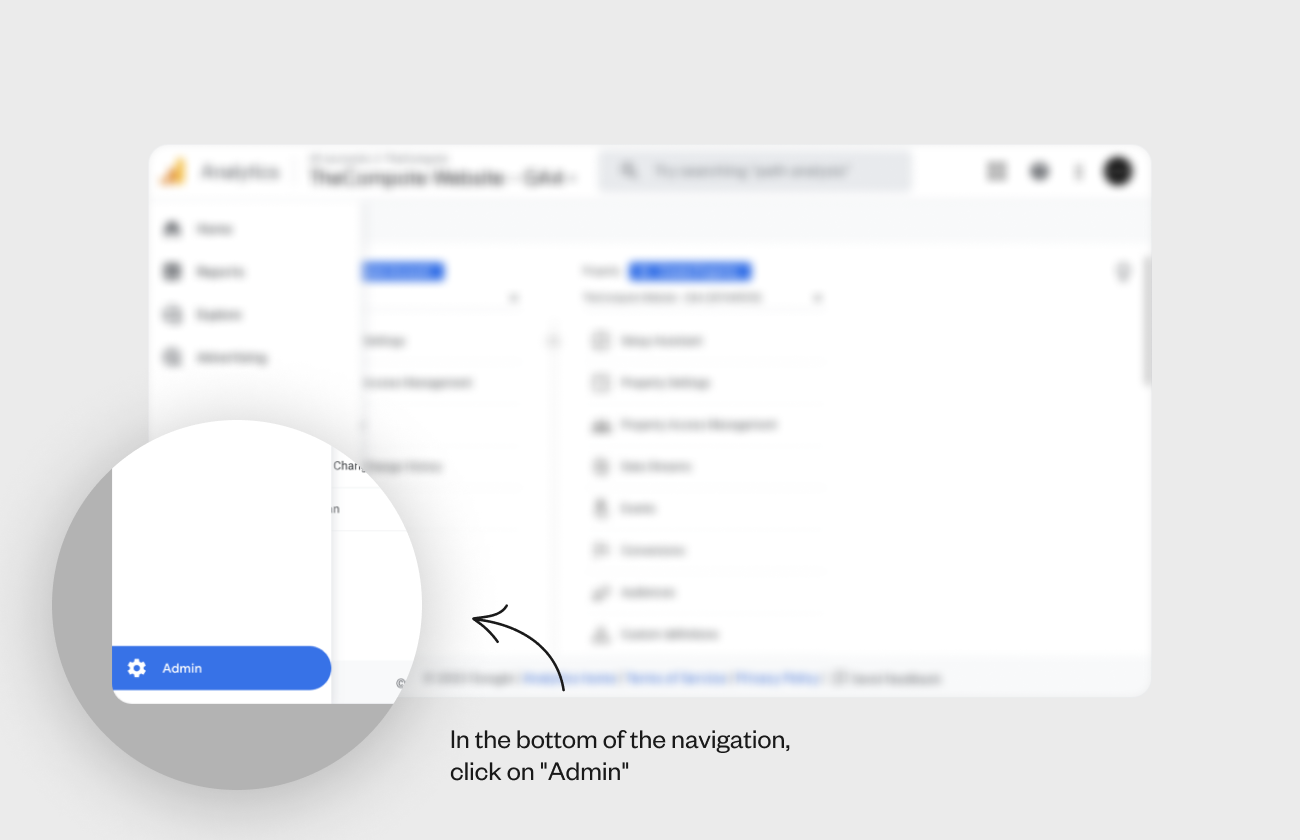
- In the bottom of the navigation, click on "Admin" and look for the GA4 Setup Assistant under your property settings.
- Click on "Get Started" in the GA4 Setup Assistant. You will have the option to enable data collection using existing tags. This will bring over the connected tags from your Universal Analytics property to the new GA4 property.
- Once you have made your selection, click on "Create Property" to create and connect the new GA4 property.
- After creating the property, you will be directed to the setup checklist for the new property. Take a moment to review the optional checkpoints and customize them according to your needs.
Step 2: Copying the Measurement ID
In this stage, we will copy the Measurement ID from the newly created GA4 property in Google Analytics. Follow these steps to proceed:
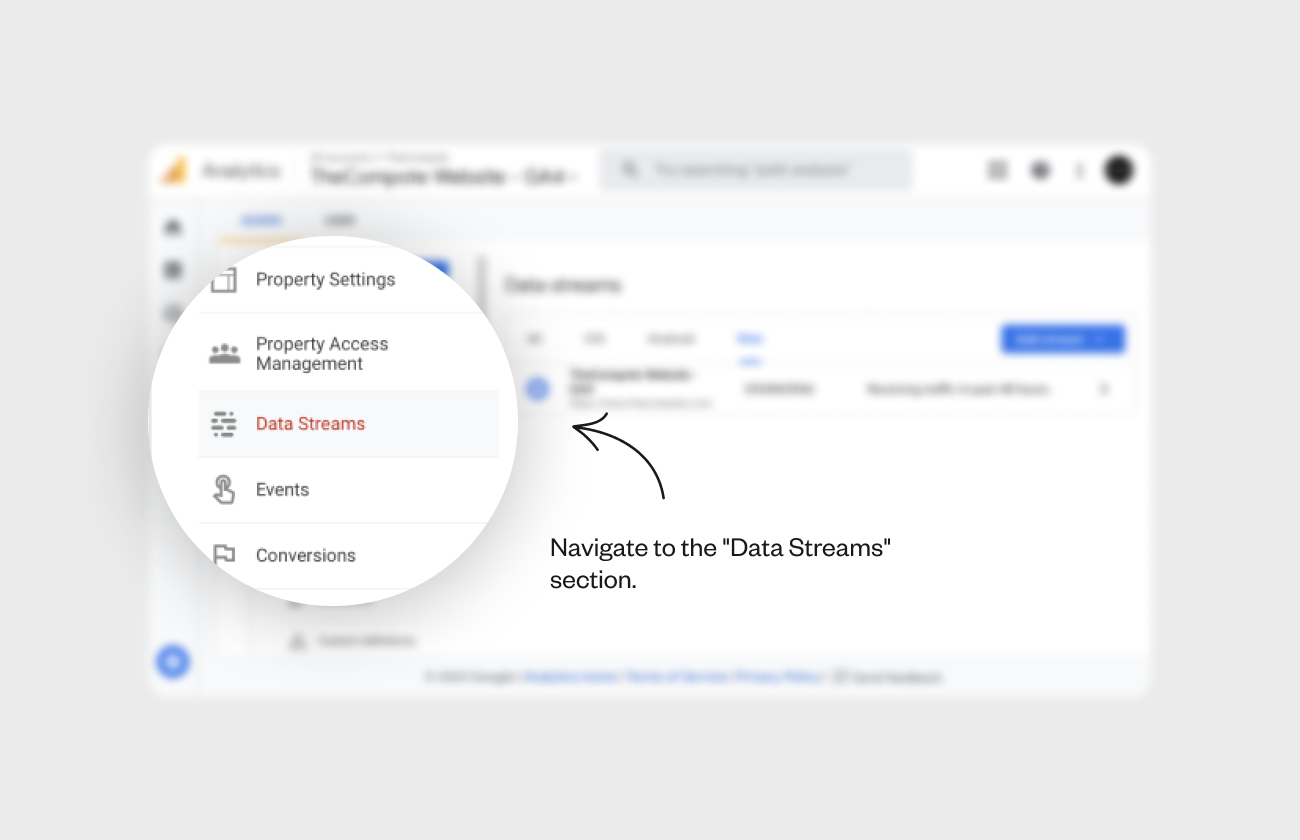
- Access the setup checklist for your GA4 property and navigate to the "Data Streams" section.
- Click on "Web" to open the Web data stream for your property.
- Once you have accessed the data stream, locate the Measurement ID and click to copy it to your clipboard. This Measurement ID will be used to update your Webflow site.
Step 3: Updating Your Webflow Site
Now that you have the Measurement ID, it's time to update your Webflow site to use the new GA4 property. Follow these steps to complete the update:
- Log in to your Webflow account and go to the site that is linked to your GA4 property.
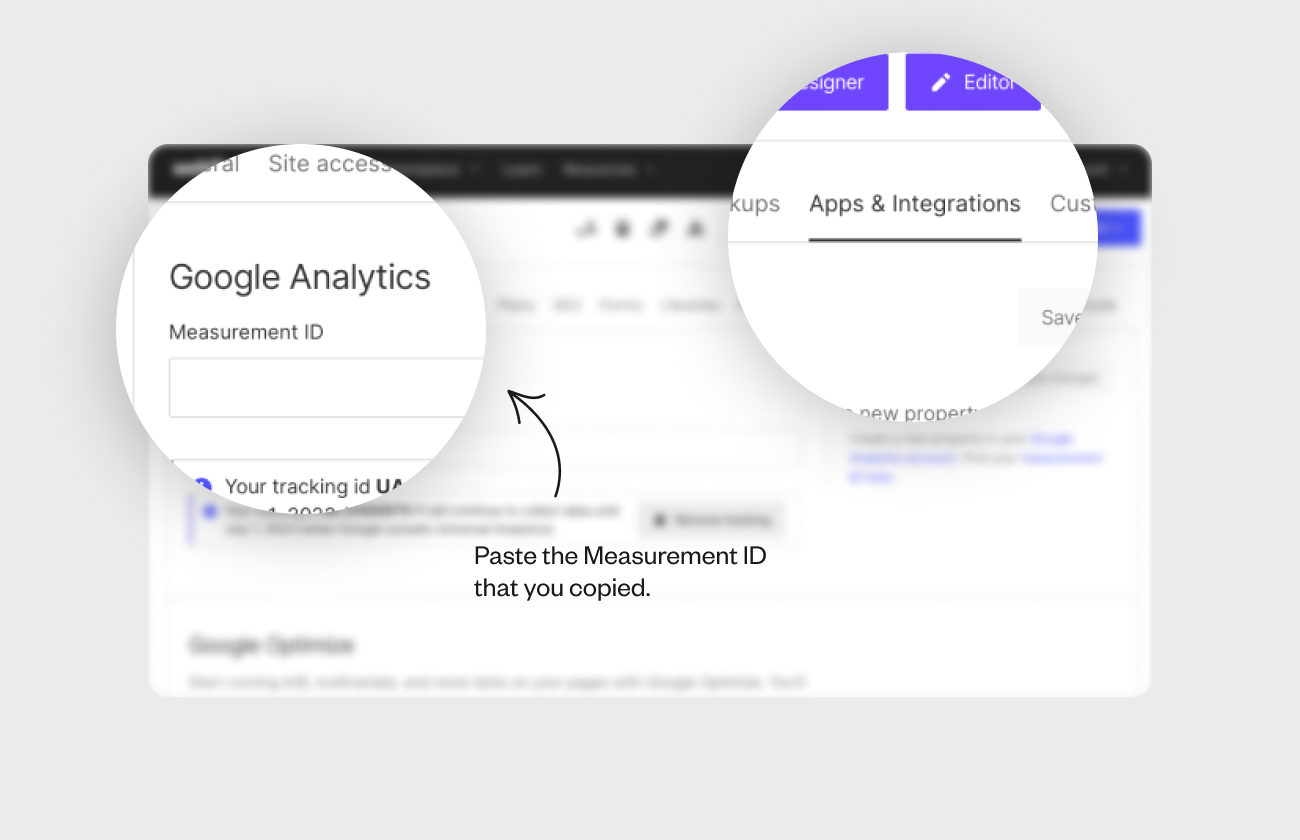
- In the site settings, navigate to the Apps & Integrations tab and locate the Google Analytics section.
- Remove the existing tracking code for the old Universal Analytics property.
- Paste the Measurement ID that you copied from the GA4 property into the Google Analytics section.
- Save your changes and publish your Webflow site to apply the updates.
Step 4: Testing and Validation
Once you have updated your Webflow site with the new Measurement ID, it's important to test and validate the connection to ensure everything is working properly. Follow these steps to test your setup:
- Open Google Analytics and navigate to the Reports tab for your GA4 property.
- Verify that you are viewing data for the correct property by checking the property name.
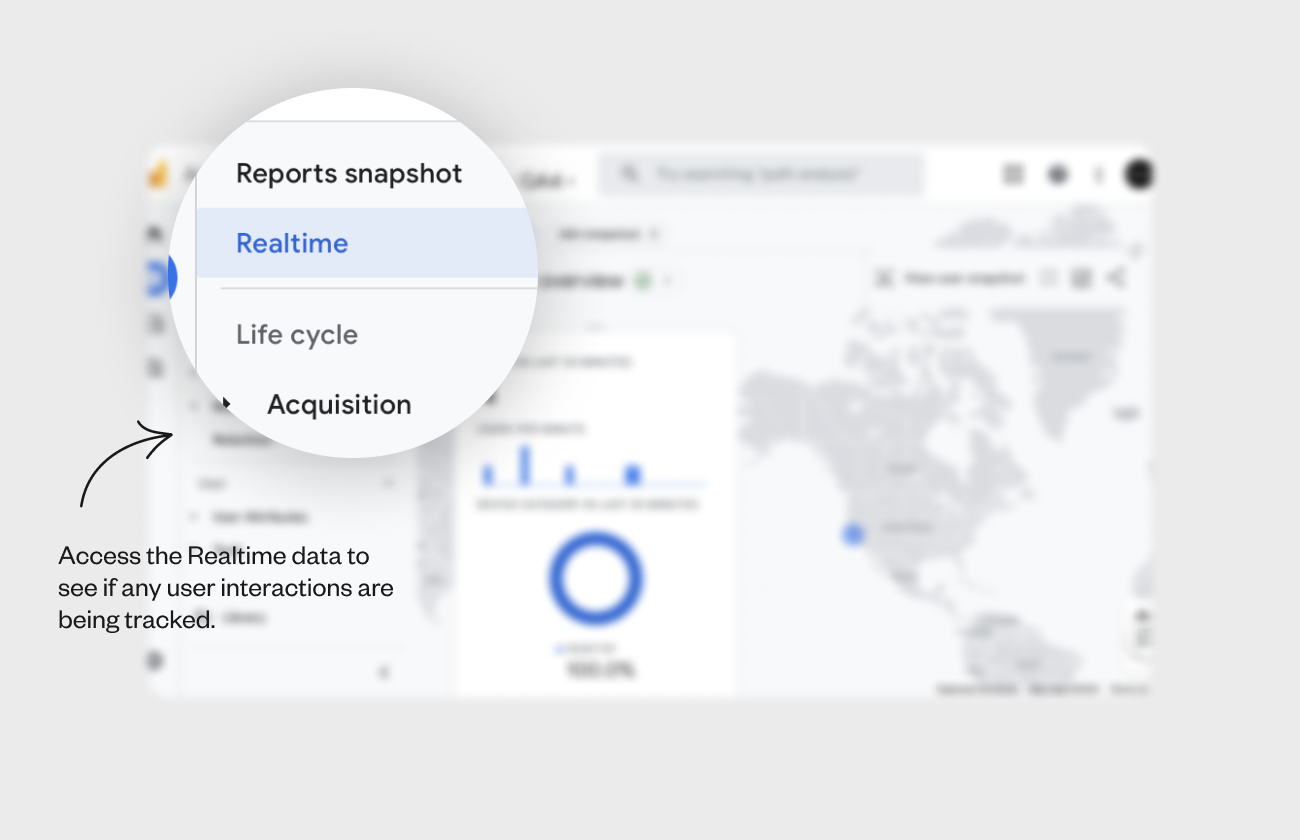
- Go to the Home section and access the Realtime data to see if any user interactions are being tracked.
- Test the tracking on different devices or ask a colleague to perform actions on your site to verify that the data is being recorded accurately.
- If you encounter any issues or the data is not showing up, double-check that the Measurement ID was correctly pasted into your Webflow site and that your site has been fully published.
Navigating the GA4 Dashboard
The GA4 dashboard provides a comprehensive overview of your website's performance and user behavior. Let's explore some key sections of the dashboard:
Realtime Monitoring
The Realtime Monitoring section allows you to track user activity on your website in real-time. You can see the number of active users, their geographic location, the pages they are currently viewing, and the events they are triggering. This information is valuable for monitoring the immediate impact of your marketing efforts and identifying potential issues or opportunities.
User Insights
The User section provides detailed information about your website's visitors. You can analyze demographics, interests, and behavior patterns to gain a deeper understanding of your target audience. This data can help you tailor your content, marketing campaigns, and user experience to better engage and convert your visitors.
Acquisition Reports
The Acquisition Reports section shows how users are finding your website and the effectiveness of your marketing channels. You can track metrics such as organic search traffic, paid search campaigns, social media referrals, and more. This information helps you optimize your marketing strategies and allocate resources to channels that drive the most valuable traffic.
Conversion Tracking
The Conversion Tracking section enables you to set up and track specific goals and conversions on your website. Whether it's a form submission, a purchase, or a newsletter sign-up, GA4 allows you to define custom events and track their success. By monitoring conversion rates and analyzing the user journey leading to conversions, you can optimize your website's performance and drive more valuable actions.
Conclusion
By integrating Google Analytics 4 with your Webflow site, you can unlock a wealth of insights and opportunities to optimize your online presence. GA4 offers advanced features, enhanced tracking capabilities, and a more holistic approach to user behavior analysis. By leveraging GA4 data, you can make data-driven decisions, improve user experience, and drive better results for your business. So, take the next step and set up GA4 for your Webflow site today!


